Showing posts with label create. Show all posts

Friday, April 10, 2015

Bubble Time Fun

 It has been raining all morning and God knows we need it. I am not complaining. I love when it rains. I am just happy that we got outside and did activities yesterday and did not waste the day with laziness. Because that is what we are doing today.
Rain = Lazy, no bra, don't wanna go anywhere, snuggle and watch a movie-kind-of-day!
 
So back to yesterday. We went outside and . . .
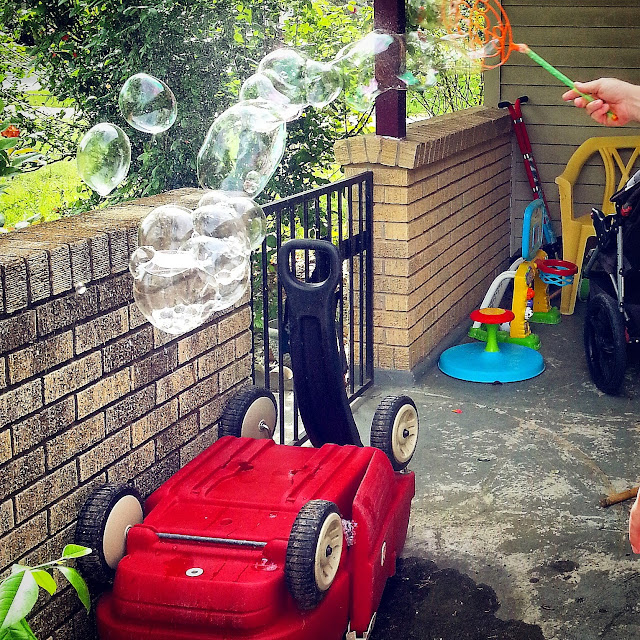
The Texas Bohemian | Bubble time fun
We had fun making bubbles! Big bubbles!
I had come across a recipe that called for massive amounts of corn syrup, dish soap and some water.
It said, "For Industrial Sized Bubbles".
I am not ready for that. So we toned it down a bit and went for
a smaller version of bubble.  
Then with all the tubs of sudsy soap water that had been over-turned (by a toddler who will remain unnamed) we gave the porch a washing. Might as well do some cleaning and playing.
We couldn't keep the soapy solution in the tub for more than 3 minutes tops before he turned them over. We managed none-the-less to get some good bubbles out of the batch.
Next time we will make a giant tub of the mixture that is a little less easy to dump out. Oh and buy more wands. We need one for each hand. I LOVE BUBBLES! I have recently found that our dog loves bubbles too. She chases them around the backyard, trying to catch them in her mouth. It is really fun to watch a toddler and a dog chase bubbles. The little things that make a momma's heart happy!
 
I got the awesome little bubble making wand at the dollar store for, you guessed it, a Dollar!
I used this recipe to make the bubbles. 
 
RECIPE
1c. water
1 tbsp. light corn syrup
3 tbsp. dish soap
 
Mix all three ingredients in measuring cup and stir until completely mixed.
Bam! It is that easy.
You can adjust the recipe according to your preferences. I guess it could never hurt to use a little more syrup or soap depending on how big you want the bubbles to be. Have fun experimenting!
 
I have not looked into the benefits of the corn syrup in this recipe, but I assume it helps to make them bigger and to keep their elasticity. I just saw the other recipe and wanted to try it out.
So I did. I enjoyed it and I plan to do it again.
Enjoy friends! Blessings to all.


Monday, December 15, 2014

Vanilla


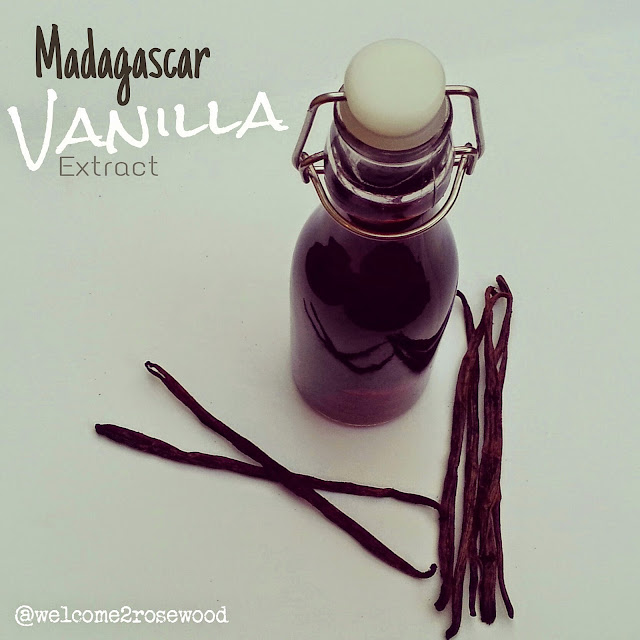
I ordered some Madagascar vanilla beans a few months ago. Every time I go to the store and see those glass jars with the one vanilla bean for $10 I am like,
"I want some vanilla beans". But not for $10 and not just one. So I found this awesome vanilla bean company online and ordered me some beans.
THEY SMELL SO GOOD!!!
As soon as I opened the package, I knew I made the right choice to purchase these bad boys.  
 
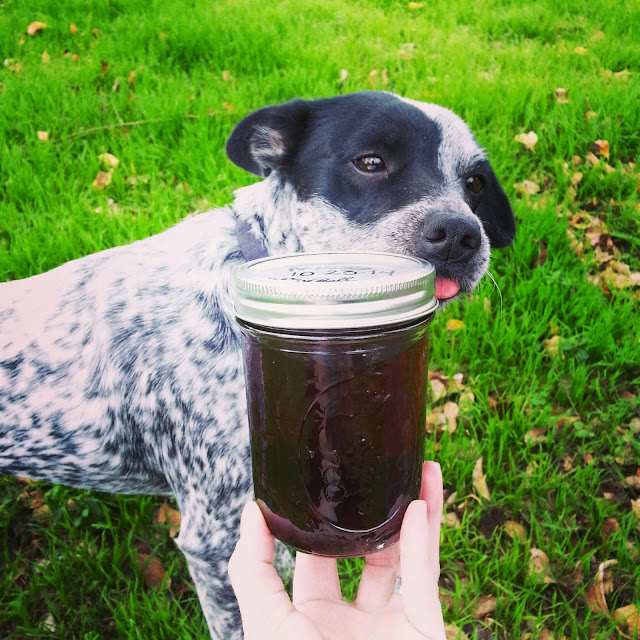
Bailey stamp of approval. You know it's good!!!
 
 
I knew I did not want these precious little heavenly beans to go to waste, so I started researching things to make with them. There are a lot of homemade goodies to make with vanilla beans. Homemade vanilla ice cream, where you scrape the seeds of the bean into the ice cream while it is churning and it is oh so yummy. Done that! Vanilla bean sugar scrub. Want to do that! Plan to do that. I have planned to make a special holiday vanilla bean lip balm. I can't wait for that. I already know that is going to be lovely. But Vanilla Extract? Something I use all the time. I can make my own? Vanilla Extract is perfect. Just in time for the holidays.
The recipe is so simple. Who knew that you could make almost anything into an extract. Not anything but a lot of things. All you need is vanilla beans and alcohol. Specifically Vodka or Bourbon.
 
The process takes anywhere from 4-6 weeks or longer. My vanilla has already been brewin' up for 7 weeks now. The longer the vanilla beans soak in that bourbon bath (or vodka) the stronger your vanilla is going to be. The vanilla has to be stored in a dry dark and cool area. Certainly not in the sun like it is in my pictures. I just took my vanilla on a little adventure for picture purposes and approval of course.
 
This is how I made my Vanilla Extract
 
What you will need
Mason Jar with lid (or similar vessel)
Paring Knife
16oz Bourbon or Vodka  (the higher quality alcohol, the higher quality extract)
6 Grade A or B Madagascar Vanilla beans (or Tahitian)
 
First, pour the bourbon into the mason jar. Then, using your paring knife make a slit down your vanilla bean length wise, starting from 3/4 of the way up and working it all the way down to the end. Again, run the tip of your knife down the inside of the pod from top to bottom and scrape out the seeds of the bean. Put the seeds in the bourbon as well as the bean. Do this to all 6 beans.
Screw the lid on tight. Label the top with the date that it was made. It is easy to forget how long the extract has been fermenting, so writing it down helps. The only thing you have to do now is give the jar a little gentle shake and store it away. Again, it is important to not leave the vanilla sitting out in a sunny place or cold or hot or wet. Store it in the pantry or somewhere dark and safe. Let the little angel get it's beauty rest. She's gonna need it.
I just go in every couple of days or so and give the jar a little rocking. You don't have to do it as often. Once a week is fine. I just get excited watching something come to life. Yes, something as little as a delicate jar of sweet vanilla extract.
 
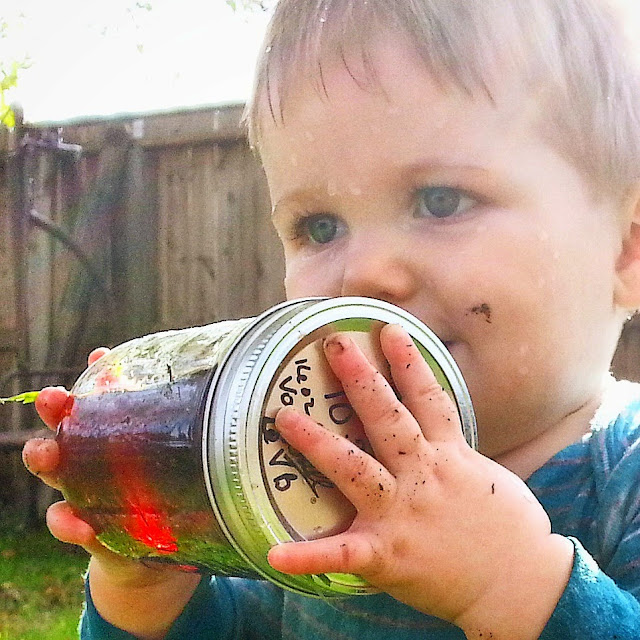
Jaxon approved too!
He wanted to give the vanilla a little shake too after playing in the rainwater barrel. That is the kind of love that went into this batch of vanilla extract
 
Blessings to all
 

Sunday, December 14, 2014

Pretty Petit Fours

These little Alice in Wonderland inspired petit fours are so light, airy and delicious. They literally melt in your mouth. Ok, so before you get too excited about this, I don't have a recipe ready for these delicious little tea cakes. I just love them so much that I wanted to share them and could not wait any longer. I will of course try to get one together.

I remember watching Alice in Wonderland when I was a little kid and seeing Alice eat that precious little blue round cake that said, "Eat Me" on it. I was like, "I want a bite" lol. Then she grew like 20 feet tall and broke through the roof. But I still loved the way that lovely little bite sized cake was stored perfectly in that little glass box and it all just seemed so magical.

I have also always loved petit fours and tea cakes and wanted to make my own. I have attempted making petit fours a couple of times before and they can be a little tricky. I will say that what worked best for me was making a large sheet cake and using a small round cookie cutter to cut out the little cakes. Then I used a light glaze and smothered them over a grated cookie rack.

My favorite part about making sweets like this is the creativity that happens. It is like food art.
IT IS Food Art!
I love food and I love art. It is a win win. I have been passionate about food and art since I was very young. So to get to combine the two is really fun for me. I like to write inspirational sayings on my food sometimes too. Like Love. I write that one a lot, lol.

I will do my best to get a recipe together for these as soon as possible. Let these be inspiration as to little cakes to come. As always, Enjoy your journey in the kitchen. The more you practice, the more you learn. It is a blast either way.

Blessings to all