Thursday, December 25, 2014

Merry Christmas

Well another Christmas has come and almost gone. It was a really lovely holiday season with our family.
As usual, we had many places to visit. Last night we went to my Aunt's house in Floresville, Tx that is on my Father's side of the family. That is where these beautiful sunset photos of my guys were taken. I love a good Texas sunset. As you can tell it is beautiful and peaceful country. I love being outdoors and away from the from hustle and bustle of the city because I always find that being around nature brings me peace. There is a certain harmony and balance in nature that always reminds me to just be and let it be. 
This is the kind of "White Elephant" that you hope to end up with at the end of the night. Every time I participate in a white elephant, I tend to bring alcohol of some sort. No one ever turns down a gift filled with little bottle of booze, chocolate, a few mints and a delicious all-natural peppermint lip balm. No One!!! I wish I would have just kept this bag for myself. That is the fun of the game!
I made homemade marshmallows for the first time and I must say that it was the messiest and stickiest thing that I have ever made. That means that they were super yummy. I made up a big cup of hot cocoa full of milk chocolate and white chocolate chips in one of my old Starbucks mugs. I plopped in a few extra big and fluffy homemade marshmallows, sprinkled with a little cinnamon and enjoyed one of the best cups of hot chocolate that I have ever had. I mean that thing was good. I used the Alton Brown marshmallow recipe that has been circulating around everywhere. It was a good but super messy first experience. I plan to make these again and fix a few of the mistakes I made in this recipe. All I can say is they make for one good cup of cocoa.
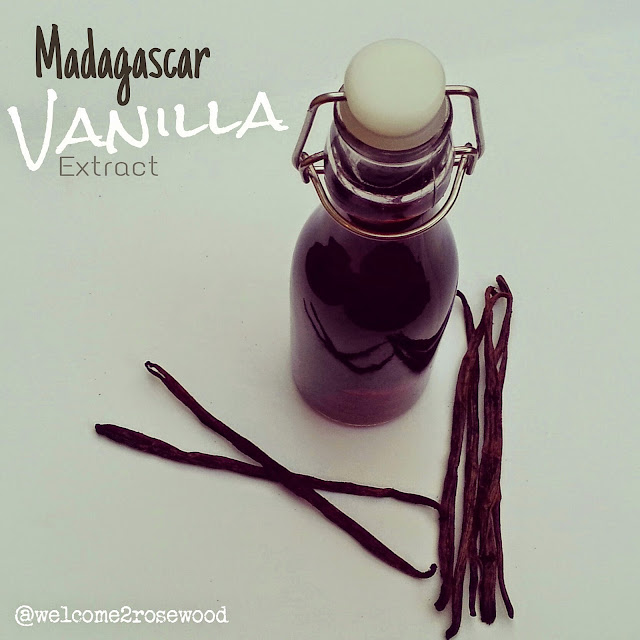
Also, for Christmas I tried my hand at homemade vanilla extract. I never knew how easy it was to make your own extract. I don't think most people know just how easy it is to make either. I really loved these cute little brown glass bottles that I got and I just found some cheap labels and a ribbon assortment at Hobby Lobby and threw these little guys together. Everybody loved them. I got to learn to make something new. I got to save money and I was able to give my friends and family something that I put my heart into and It felt good sharing with them. I will continue to make my own extract from here on out.
We started a tradition of decorating a gingerbread house as a family last year. We did it again this year and It was fun as usual. The icing they include in these little kits is pretty damn good. I have a hard time not eating it. The kit we found this year was way better and came with two gingerbread men as well as a tree and a few other extras that helped make our little house so awesome and yummy. Decorating a gingerbread house as a family is a great way to spend some extra time together and get creative as a family. Everyone will be so proud of the result. Then maybe everyone can eat it.
Now onto New Years Eve. Hopefully a little dancing and celebrating another year of health, happiness and love. Merry Christmas to everyone from my family to yours.
 
Blessings and Love to all
 

Sunday, December 21, 2014

Cinnamon Rolls from Heaven


I always wanted to make cinnamon rolls from scratch but was a little intimidated with the task. The amount of time that I thought would have to go into making those gooey little buns was daunting. I put it on my list of things I want to learn to make from scratch and kind of forgot about it. That was until I came across this recipe that seemed too good to be true. There was an easy video tutorial to follow along with and everything. Score! I really like the lady who made the video. Her name is Jenny. She's a pretty woman, probably in her 60's, quirky, blonde and for some reason seems so familiar to me. You want to know why this woman seemed so familiar to me? 
Because she is Jenny Jones.


The former talk show host Jenny Jones. I learned how to make some of the tastiest and easiest cinnamon rolls ever from a former 80's & 90's drama talk show host. I didn't even know she had a youtube cooking channel. Did you know? I think I like her better as a cooking show host than the other.

After I stopped saying, "No wonder she looks so good, It's Jenny Jones" then I was able to focus on making these yummy buttery rolls. Not only is this recipe fairly easy to execute but she has cut out about half the butter and sugar of your regular cinnamon rolls. I would have made them and totally enjoyed them even if she had doubled the butter and sugar, but I honestly was just as satisfied with these and can't complain. I don't think you will notice either. Just think of it as a gift to yourself.

To make it a little easier I have gone ahead and laid out the basic tools and ingredients that you will need to make these fabulous ooey gooey sticky sweet rolls but I think you will find it most helpful to follow her 15 minute instructional video to get the full grasp on what is supposed to go down. Besides, you need to go see Jenny Jones do a cooking show. It is wonderful. Actually I find her very relaxing and kind of funny. Especially now that I know who this random Jenny Can Cook gal is.

What you will need:
TOOLS
Stand Mixer (works the best)
Measuring cups and spoons
large bowl
silicone spatula
8" round baking pan
Floss if you got it (or large knife)
plastic wrap
rolling pin

Ingredients
DOUGH
1 1/2 c. Flour + 1/4 c additional flous
1/4 c. sugar
1/2 tsp. salt
1 pkg yeast
1/2 c. warm milk
3 tbsp. Canola Oil
1 egg

FILLING
1/4 c. Brown sugar
2 tsp. Cinnamon

GLAZE
1 c. Confectioners Sugar
1/4 tsp. Vanilla Extract
2 tbsp. Milk
milk

*I added 2 tbsp. cream cheese and 1 tbsp. of butter to my icing. What can I say? I love a rich creamy cream cheese frosting. Just a suggestion!


You can find the recipe and video tutorial here and watch how easy it is to make these big, yummy, fluffy cinnamon rolls all by yourself. I would watch the video once all the way through and take it all in. Then, you can prepare everything and when you are ready you can follow along with the video again while you are actually making them. I hope you get the opportunity to check out the video and Jenny as well as try out this recipe. It is a great one. Enjoy your journey in the kitchen. If you're not having fun then you are not doing it right.

Blessing to all


Monday, December 15, 2014

Vanilla


I ordered some Madagascar vanilla beans a few months ago. Every time I go to the store and see those glass jars with the one vanilla bean for $10 I am like,
"I want some vanilla beans". But not for $10 and not just one. So I found this awesome vanilla bean company online and ordered me some beans.
THEY SMELL SO GOOD!!!
As soon as I opened the package, I knew I made the right choice to purchase these bad boys.  
 
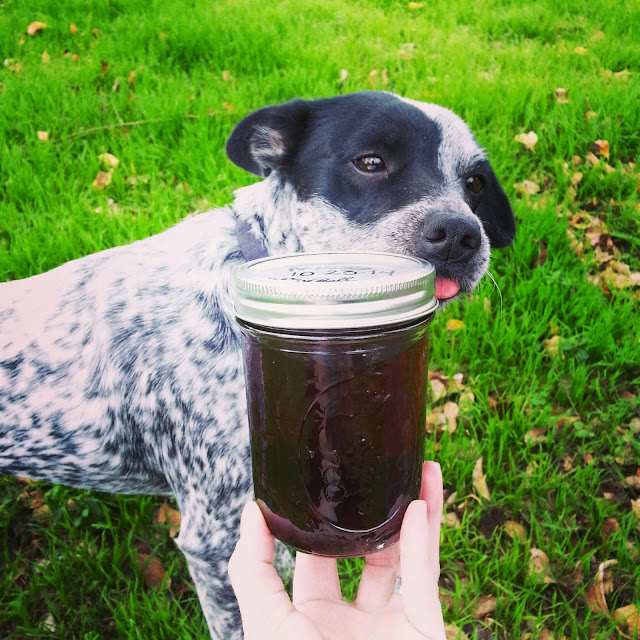
Bailey stamp of approval. You know it's good!!!
 
 
I knew I did not want these precious little heavenly beans to go to waste, so I started researching things to make with them. There are a lot of homemade goodies to make with vanilla beans. Homemade vanilla ice cream, where you scrape the seeds of the bean into the ice cream while it is churning and it is oh so yummy. Done that! Vanilla bean sugar scrub. Want to do that! Plan to do that. I have planned to make a special holiday vanilla bean lip balm. I can't wait for that. I already know that is going to be lovely. But Vanilla Extract? Something I use all the time. I can make my own? Vanilla Extract is perfect. Just in time for the holidays.
The recipe is so simple. Who knew that you could make almost anything into an extract. Not anything but a lot of things. All you need is vanilla beans and alcohol. Specifically Vodka or Bourbon.
 
The process takes anywhere from 4-6 weeks or longer. My vanilla has already been brewin' up for 7 weeks now. The longer the vanilla beans soak in that bourbon bath (or vodka) the stronger your vanilla is going to be. The vanilla has to be stored in a dry dark and cool area. Certainly not in the sun like it is in my pictures. I just took my vanilla on a little adventure for picture purposes and approval of course.
 
This is how I made my Vanilla Extract
 
What you will need
Mason Jar with lid (or similar vessel)
Paring Knife
16oz Bourbon or Vodka  (the higher quality alcohol, the higher quality extract)
6 Grade A or B Madagascar Vanilla beans (or Tahitian)
 
First, pour the bourbon into the mason jar. Then, using your paring knife make a slit down your vanilla bean length wise, starting from 3/4 of the way up and working it all the way down to the end. Again, run the tip of your knife down the inside of the pod from top to bottom and scrape out the seeds of the bean. Put the seeds in the bourbon as well as the bean. Do this to all 6 beans.
Screw the lid on tight. Label the top with the date that it was made. It is easy to forget how long the extract has been fermenting, so writing it down helps. The only thing you have to do now is give the jar a little gentle shake and store it away. Again, it is important to not leave the vanilla sitting out in a sunny place or cold or hot or wet. Store it in the pantry or somewhere dark and safe. Let the little angel get it's beauty rest. She's gonna need it.
I just go in every couple of days or so and give the jar a little rocking. You don't have to do it as often. Once a week is fine. I just get excited watching something come to life. Yes, something as little as a delicate jar of sweet vanilla extract.
 
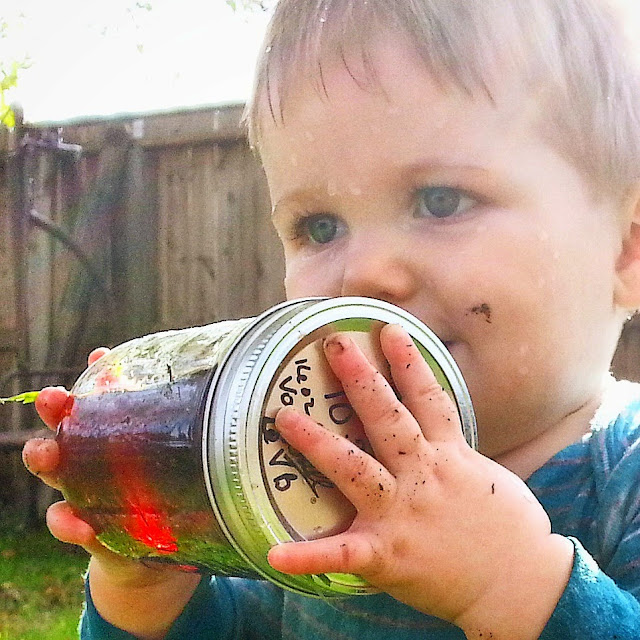
Jaxon approved too!
He wanted to give the vanilla a little shake too after playing in the rainwater barrel. That is the kind of love that went into this batch of vanilla extract
 
Blessings to all
 

Sunday, December 14, 2014

Pretty Petit Fours

These little Alice in Wonderland inspired petit fours are so light, airy and delicious. They literally melt in your mouth. Ok, so before you get too excited about this, I don't have a recipe ready for these delicious little tea cakes. I just love them so much that I wanted to share them and could not wait any longer. I will of course try to get one together.

I remember watching Alice in Wonderland when I was a little kid and seeing Alice eat that precious little blue round cake that said, "Eat Me" on it. I was like, "I want a bite" lol. Then she grew like 20 feet tall and broke through the roof. But I still loved the way that lovely little bite sized cake was stored perfectly in that little glass box and it all just seemed so magical.

I have also always loved petit fours and tea cakes and wanted to make my own. I have attempted making petit fours a couple of times before and they can be a little tricky. I will say that what worked best for me was making a large sheet cake and using a small round cookie cutter to cut out the little cakes. Then I used a light glaze and smothered them over a grated cookie rack.

My favorite part about making sweets like this is the creativity that happens. It is like food art.
IT IS Food Art!
I love food and I love art. It is a win win. I have been passionate about food and art since I was very young. So to get to combine the two is really fun for me. I like to write inspirational sayings on my food sometimes too. Like Love. I write that one a lot, lol.

I will do my best to get a recipe together for these as soon as possible. Let these be inspiration as to little cakes to come. As always, Enjoy your journey in the kitchen. The more you practice, the more you learn. It is a blast either way.

Blessings to all


Saturday, December 13, 2014

Orange Julius copycat recipe

Remember those delicious Orange Julius smoothies that Dairy Queen used to make? They stopped making them for years and then in the past couple of years they brought them back but they don't taste quite the same. I am not sure if they changed the recipe or did something different but something is definitely different.
 
I always loved the Orange Julius and have attempted to make my own on several occasions. They didn't always come out so great but never so bad that I didn't drink them. I have searched high and low for the perfect copycat recipe for making my own Orange Julius and I finally found some good ones. There are a lot of these out there. The general ingredient seem to be pretty common among all the recipes that I have found. I did find this one on Pinterest from The Recipe Critic that I liked in particular. I had to do a little tweaking to make the recipe just how I wanted it and this is what I ended up with. I hope you like it.
 
Recipe
What you will need:
Blender
Spoon
Cups
Straws
Measuring cups
Measuring Spoons
 
Ingredients:
6oz frozen orange juice concentrate (half a can)
1 cup milk (try 2% or skim for a healthier version)
1 cup cold water
1/3 cup sugar or (sugar alternative)
1/2 tsp vanilla extract
10-15 ice cubes
Makes about 4 - 8oz glasses

This is such an easy recipe and all in all not too fattening. If you use a less fattening milk (or milk alternative) and less sugar (or a sugar alternative) then this can really be a healthy. I don't mind the few extra calories and I want my Orange Julius to taste as close to the original as possible, so I use the original ingredients. 
 
To make the smoothie, combine all ingredients into your blender and mix until smooth. It should take a couple of minutes. I use the ice crush button on my blender because I don't like chunks of ice in my smoothie. Use your spoon to taste and make sure it is sweet enough or thick enough for you. Most recipes called for more sugar, about half a cup. Also, less ice. I found that I like mine with a little less sugar and a little more ice. 

If the Orange Julius Smoothie meets your standards, then pour into glasses, add a straw, maybe a little orange garnish and go to town. 
Yum!!!
Well, I hope that your Orange Julius experience is as good with this recipe as it was way back when the original Orange Julius was around. If you find that it doesn't quite fit the bill then tweak the recipe a little until you find your own balance. That is what is so fun about cooking and playing in the kitchen, you get to be creative. 
 
As always, Enjoy your journey in the kitchen!
Blessings to all