Showing posts with label how-to. Show all posts

Wednesday, March 18, 2015

Homemade Playdough recipe

I remember playing with play-doh when I was a kid and maybe even a time or two as an adult. I loved the way the dough felt between my fingers and even the way it smelled. I have always loved anything to do with art, creating and playing with items that I can sculpt in my hands. The original play-doh brand modeling compound is composed of flour, water, salt, boric acid and mineral oil and has always been non-toxic and generally safe for kids. However, I like to save money and learn to make everything from scratch in case the apocalypse goes down, there are no more tubs of play-doh and I need something to make to keep my kids busy while we are all trying to survive in the chaotic world that is an apocalypse. You get the picture.
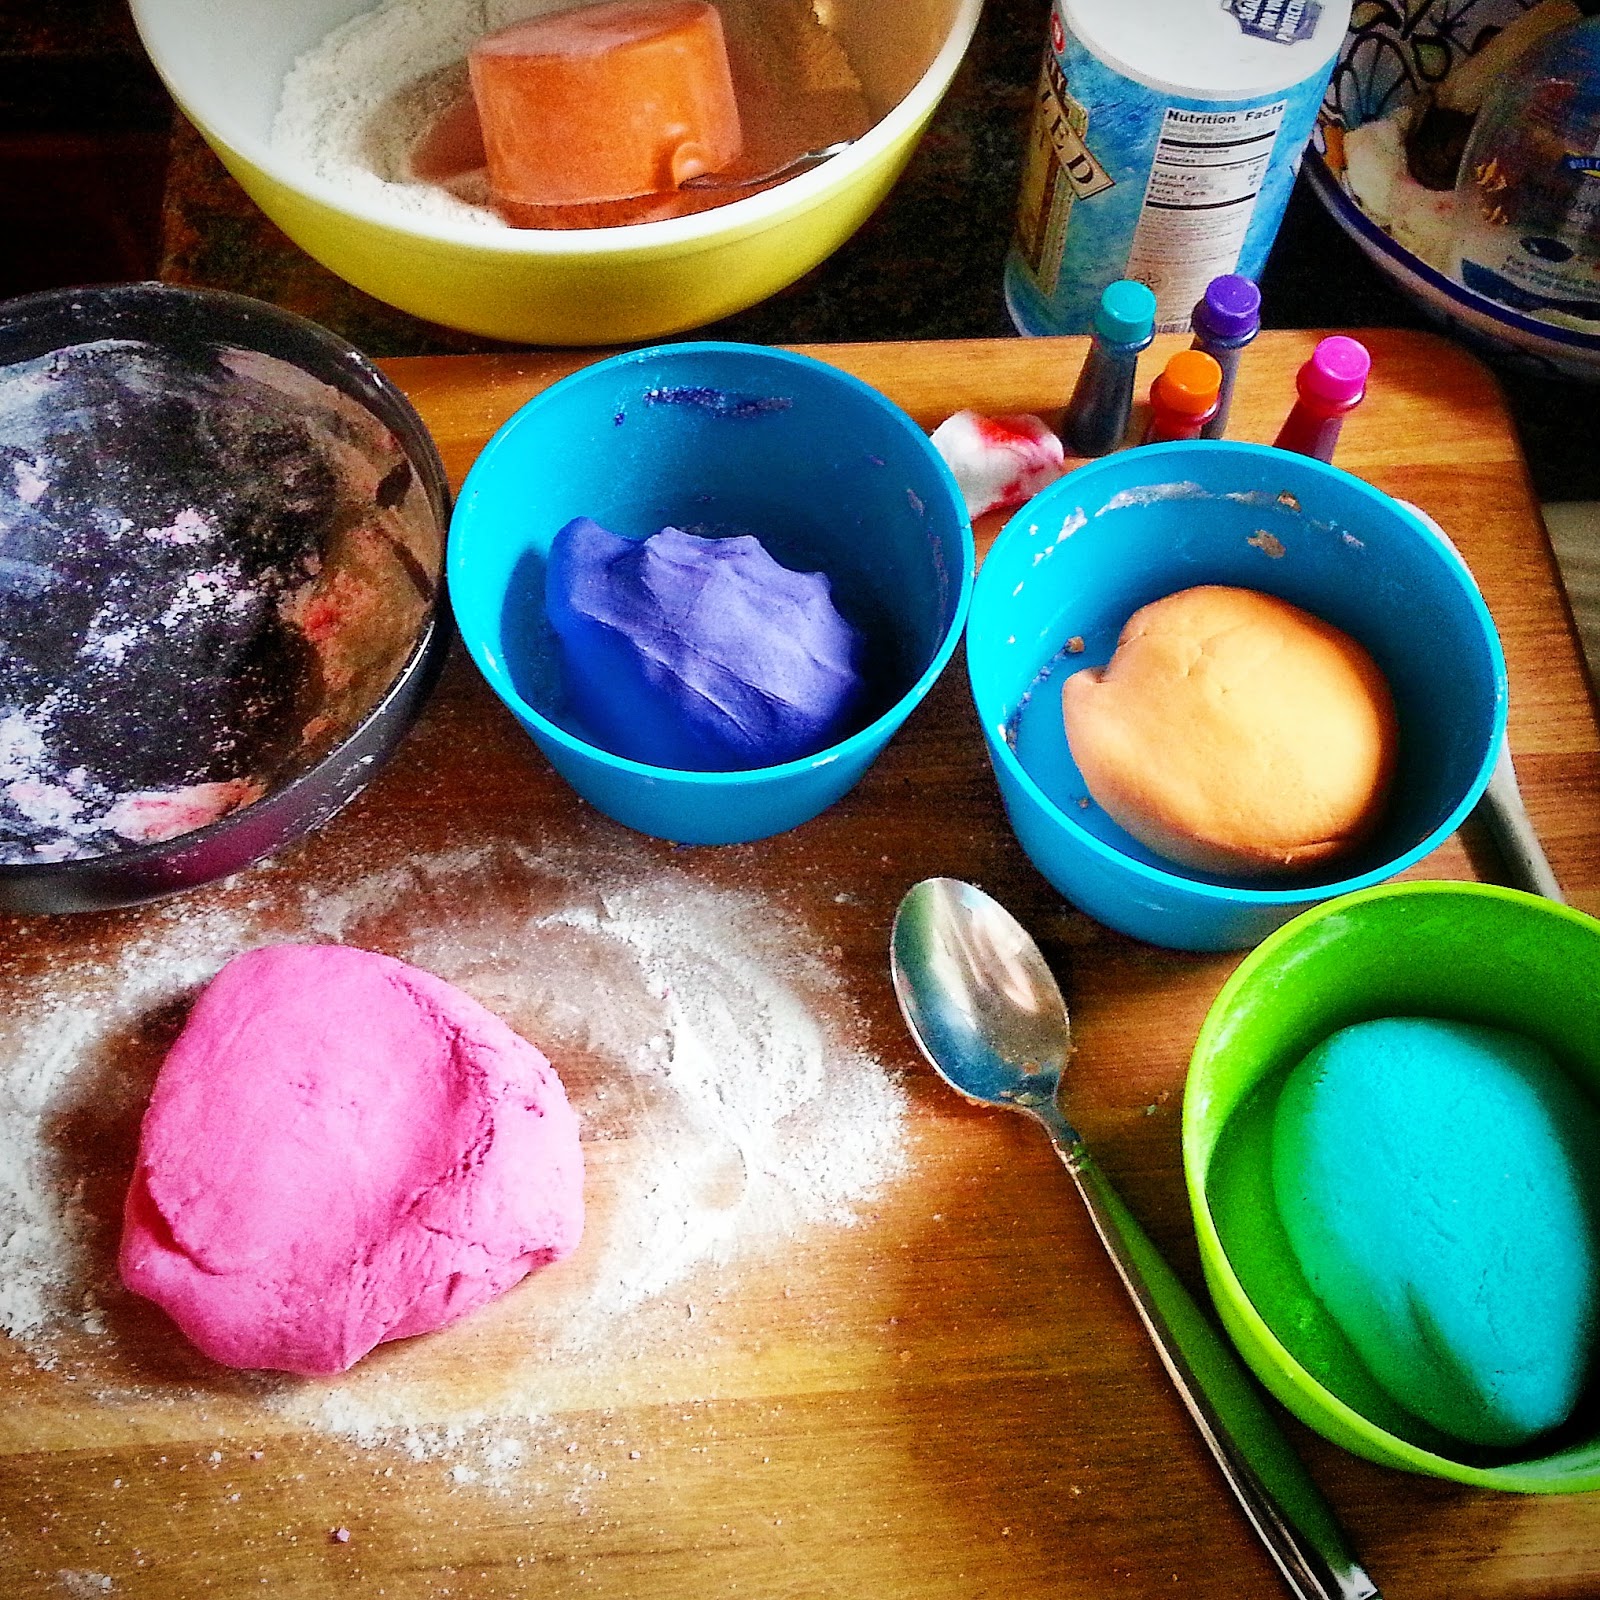
So I went in search for some easy and safe recipes to make at home for my little ones. I usually check out Pinterest and Youtube first. I watched a lot of videos of people making there own playdough, but I only found one recipe and video tutorial that was actually simple and easy to make. All of the other recipes and videos were more complicated than they really had to be.
I followed the video and recipe from BeforeAndAfterTv on Youtube and I really liked how simple she made it. I watched a few other videos for comparison purposes and I was surprised at how difficult and messy some of them were. So, check it out for yourself and see If you can find one as easy as this. Depending on which ingredients you have at home, will depend on what kind you can make. I like that I can make this all in less than 20 minutes and choose which colors I want and store them in little baggies until my munchkins can use them. I also like that I know exactly what is in my playdough and I don't have to worry about my kids eating any boric acid or mineral oil, even though they would probably be just fine if they did. None-the-less, it is gratifying to make things with your own two hands for your children instead of going out and buying it.
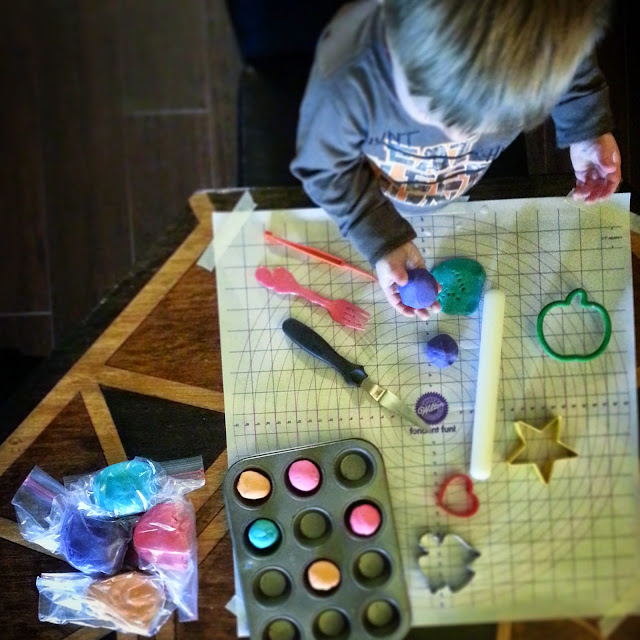
I am very happy with the way these little balls of doughy fun came out and my youngest had a grand time playing with them. We spent an hour playing with the playdough and making fun shapes and throwing the balls of dough. The fact that my 18 months old sat long enough to do anything for an hour is unheard of. So I give myself a pat on the back for effort.  
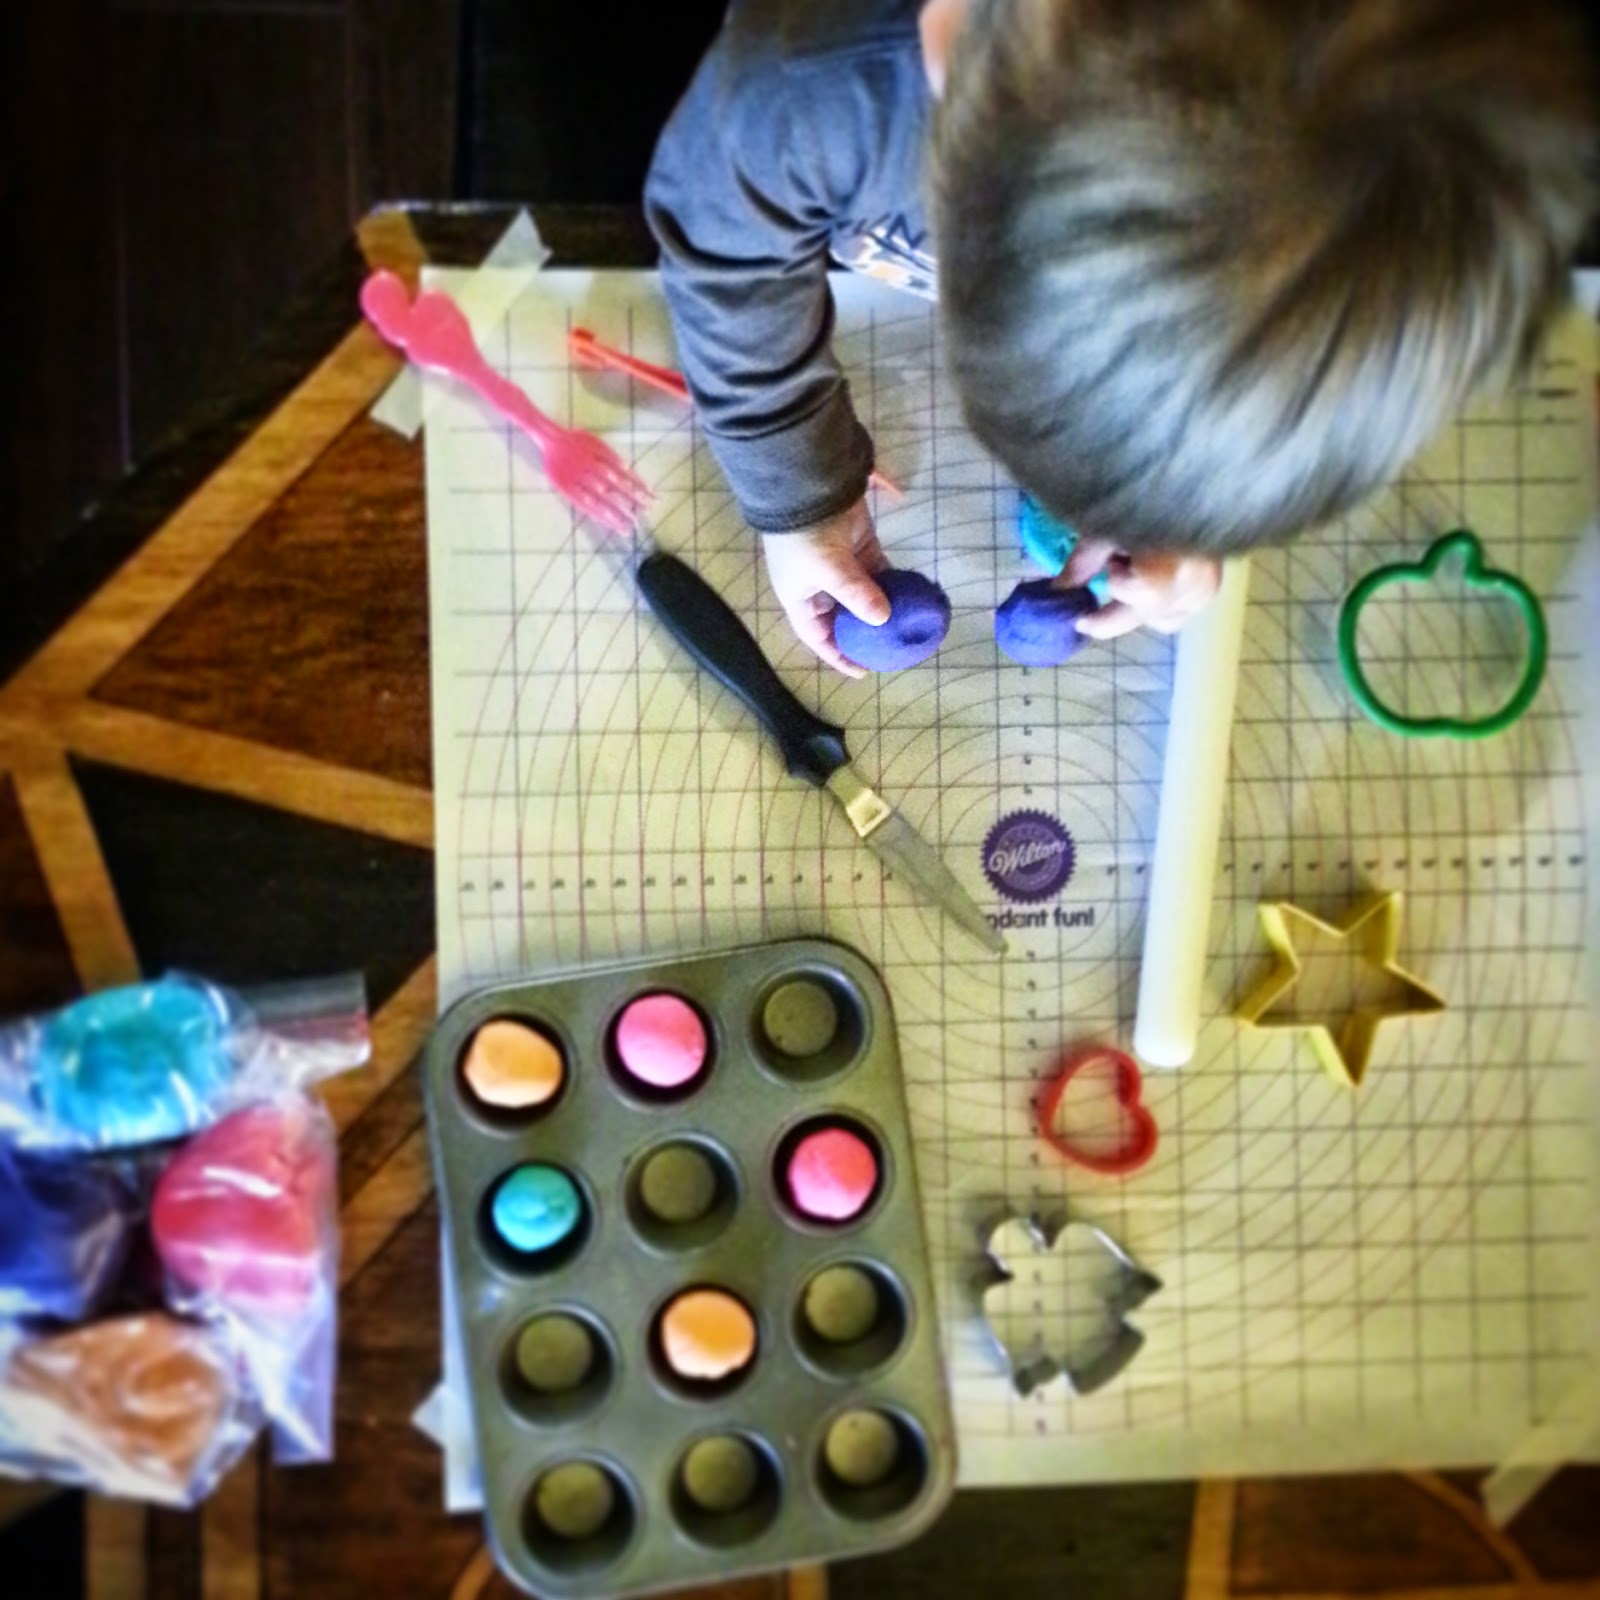
I used about half the dough in each color and sealed up the rest and stuck them in the fridge til next time. I just grabbed some old cookie cutters, a rolling pin, a non-stick rolling mat and some other odds and ends that would be fun to play with and we went to town. He absolutely loved it.   
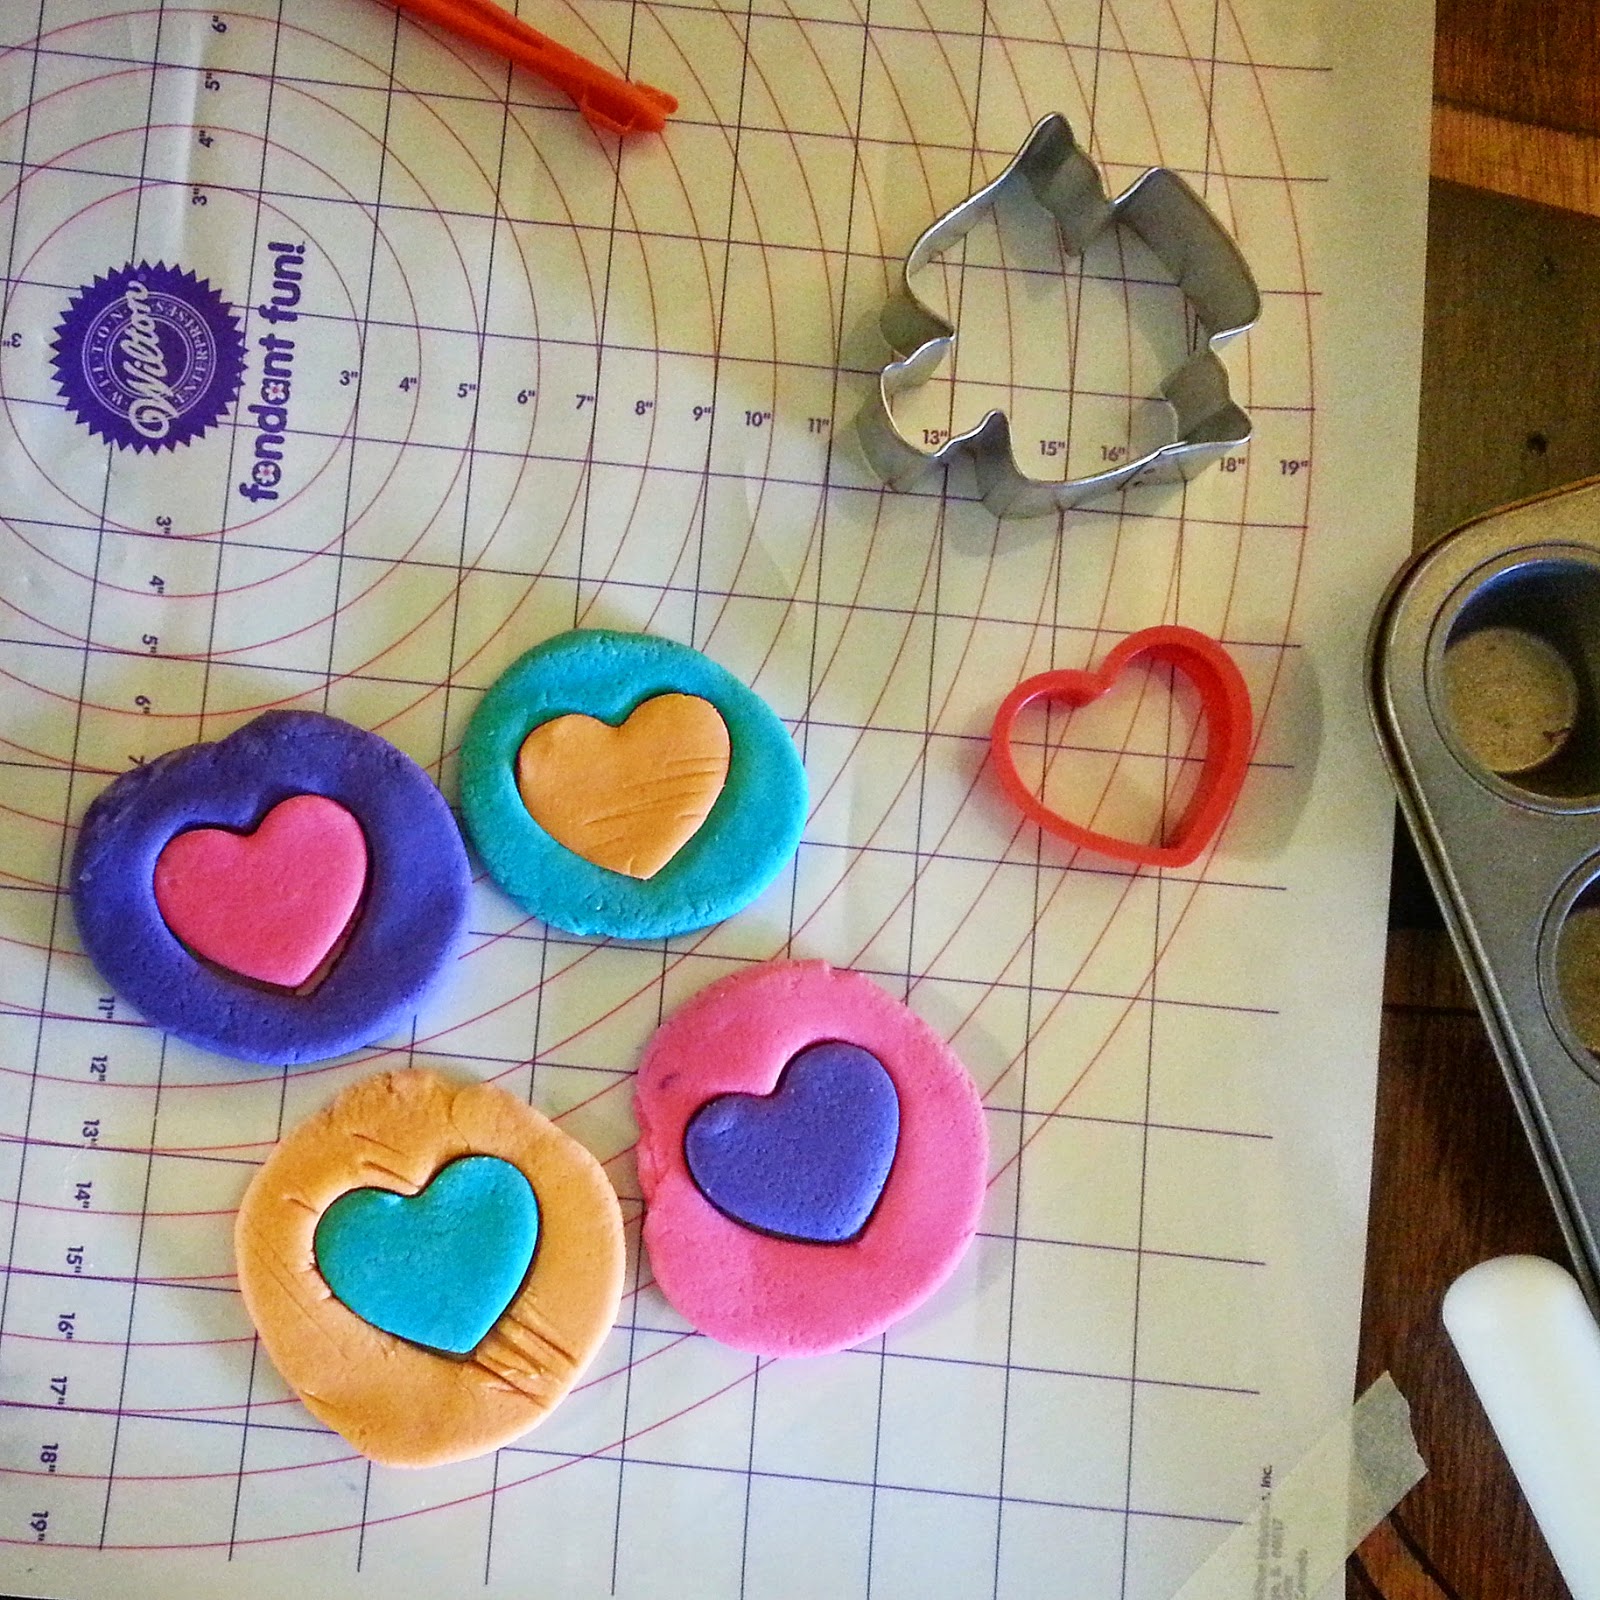
Even Mommy had fun making some cute little heart shaped creations. As much as I love to bake and play with actual dough, how could I not love playing with this. Too bad I couldn't bake them and then eat them. They actually look real yummy!
 
Check out this link for the video tutorial on how to make this fun non-toxic playdough and give it a try. Your kids will be forever grateful and you will have some extra time to whatever it is that Mommy/Daddy needs to do while the kids are having fun using their minds and creating art.
 
As always
Blessing to all

Check out my previous post
How to make easy mini quiche
http://thetexasbohemian.blogspot.com/2015/03/how-to-make-easy-individual-mini-quiches.html


Tuesday, March 10, 2015

How to make easy individual mini quiches

 I love breakfast foods. However, I tend to have a hard time waking up and eating a meal right away. I like to enjoy a couple cups of coffee before I even get hungry and I find myself eating more breakfast foods at other times of the day.  However, my one year old is ready to throw down as soon as he wakes up. Since I have no appetite when I wake up, it can be challenging to cook a meal. So, I went on the search for some easy breakfast foods that I could pre-make and even possibly easily reheat for my little one in the morning. I have seen these little quiches around and thought I would give it a try. One of the biggest appeals for me is that they can be pre-made, refrigerated, frozen and then reheated again. These are also healthy if you use fresh healthy ingredients, like free-range cage-free eggs and veggies. However, use whatever your little heart desires. I won't tell. I already know how to make a quiche and I certainly know how to make an omelet. This dish combines the two, except there is not a crust, which is a good way to cut back on even more calories. 
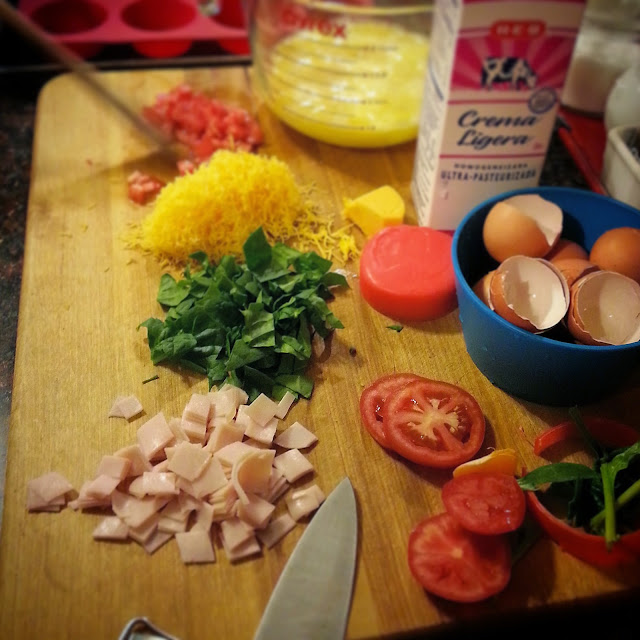
Here are the ingredients you will need for this recipe. It Is very simple.
 
Ingredients:
8 fresh eggs (if possible cage-free)
3 tbsp. Half&Half (you may also use heavy cream and even milk)
1/2 c diced tomatoes
1/2 c shredded cheese (I use sharp cheddar)
1/2 c fresh chopped spinach
1/4 turkey lunch meat (you may also use ham or omit meat all together)
a pinch of salt to taste
 
Utensils:
Large mixing bowl
Whisk/Fork
Measuring cups/spoons
Non-stick muffin pan
knife
cheese grater
Directions: Preheat oven to 350 F
 
Using a whisk or fork, scramble the eggs in a large bowl. Add cream and salt.
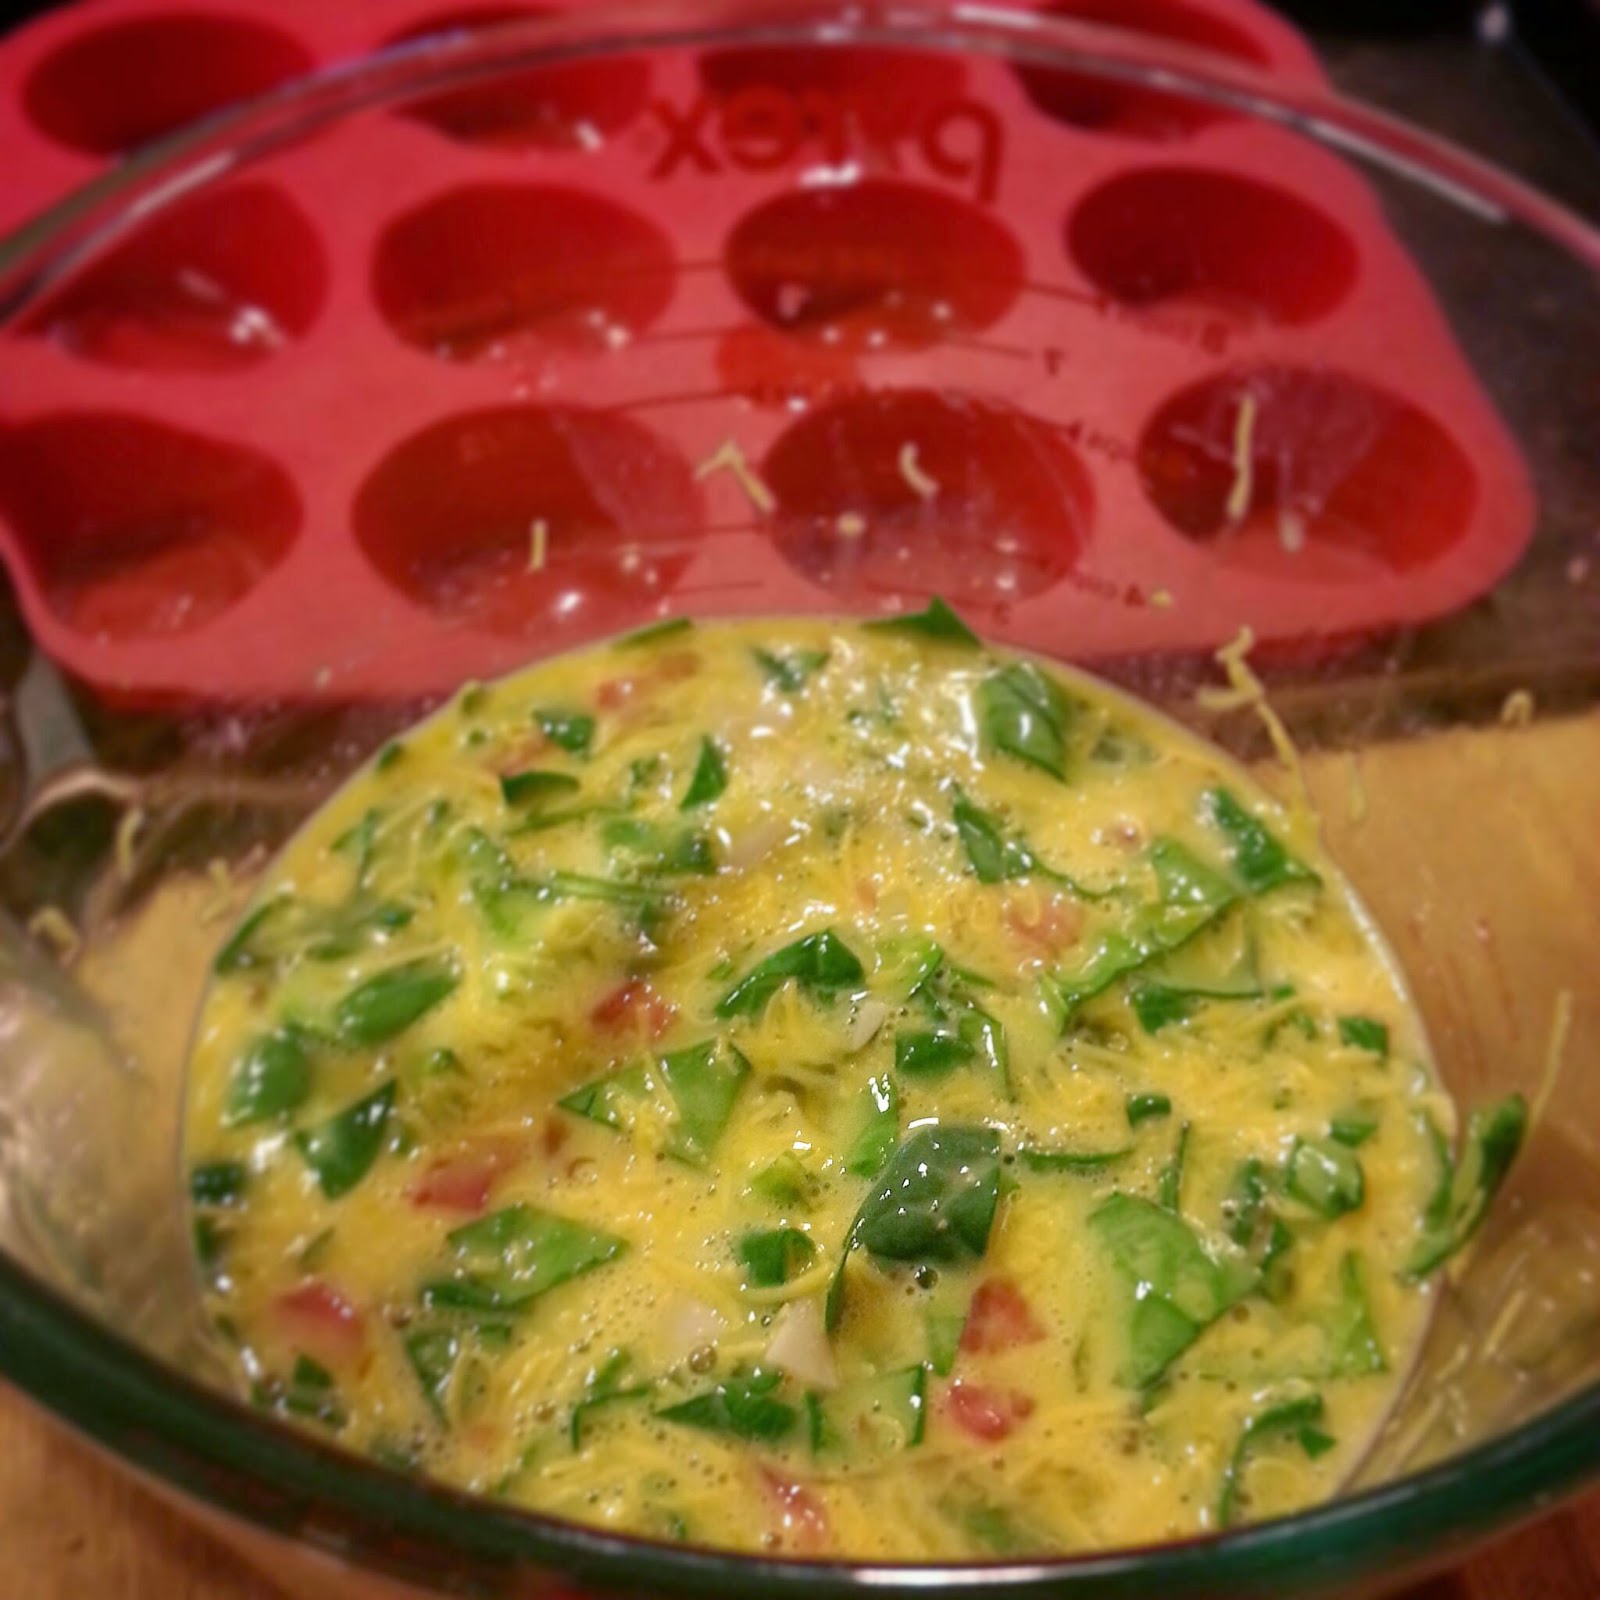
Whisk again! Now add the rest of the ingredient all at once and whisk until thoroughly combined. You want to make sure every quiche gets a little bit of everything in it. 
Once the mixture is combined, you can pour some into each individual muffin spot. I filled mine up to the top. I also used a large Pyrex glass measuring bowl, which has a spout and handle and that made it really easy to pour directly from the bowl into the muffin pan. This recipes yields 9 individual quiches. I also added a little extra cheese to the top of each quiche before I put it in the oven. This of course is optional but I noticed it makes it a little more moist and yes, a little yummier.
Bake the quiche in a 350 F oven for 25 minutes or until cooked thoroughly and cheese is melted. 25 minutes cooked my quiche perfectly and the cheese melted just right. Allow them to cool for a few minutes before eating them because they will be steaming hot.
Voila! 
A perfect little mini quiche!
You can store the left overs in an air-tight ziplock baggie or container and put them in the refrigerator. I wouldn't leave them in the fridge for more than a day or two. You may also freeze them and heat them up as you need them. If you double this recipe you can make 1.5 dozen and store a bunch in the freezer for quick breakfasts. When you are ready to use them from the fridge, you can microwave them for about 30 seconds and from the freezer about 1 minute. I made these yesterday morning and refrigerated them. I took one out to eat this morning and heated it up in the microwave and it tasted just as moist and delicious as when they came out of the oven and that is what I like about these.
 
Here are a few other ingredient ideas to use when making these quiche.
The options are endless:
Mushrooms, onions, chives, swiss cheese, bacon, ham, peppers
 
As always, have fun in the kitchen and Enjoy!


Tuesday, February 3, 2015

The best blueberry muffins I have ever eaten | Recipe

There is nothing quite like fresh homemade blueberry muffins for breakfast. Fresh blueberry anything, actually! Growing up my mom always made the Betty Crocker blueberry muffins from a box. I always loved them. I liked to help make them and draining the blueberries was especially fun because how many foods do you get to play with that are blue? I would smother my muffin in butter and gobble it up. I could really throw down when I was younger.
As I grew up, I carried on the same tradition and made my blueberry muffins the same way. From a box! Along the way I have tried to make blueberry muffins from scratch here and there, but they always came out really heavy and cakey or too bland. I had given up on making them.

About a week ago I came across this blueberry muffin recipe and honestly the muffins on her blog looked so good that I thought I would give it a try. Little did I know that I made the best decision of my day. I did have a whole box of fresh blueberries that needed a higher purpose after all. I am glad that I made them because they are THE BEST BLUEBERRY MUFFINS THAT I HAVE EVER EATEN!!! Did I yell that?!?!

I mean it! These are so fluffy and moist with just the perfect amount of berries and sweetness. I love the bursts of warm berries as you bite into these. I like that the recipe called for brown sugar instead of the regular granular sugar. I think that made a big difference. The sweet and cinnamon crumble on top to top it off was perfect. It didn't take me long to throw these together either, which I like. This recipe also calls for buttermilk, which is super easy to make if you don't have any and she also explains how to do that on her blog. She really took the time to make a really great post with detailed instructions. So I will let her do the teaching on this. You can find the recipe for these amazing muffins at this really cool blogged called Simply Delicious.
She even has those awesome printable recipe cards on her page, which makes things so much easier.
 
Just a quick once over of the ingredients for this recipe:
MUFFINS:


  • 2 1/2 cups all-purpose flour
  • 1 teaspoon baking soda
  • 1 teaspoon baking powder
  • 1/2 teaspoon salt
  • 1 1/4 cup brown sugar
  • 1/2 (1 stick) cup unsalted butter, softened
  • 1 large egg
  • 2 teaspoons vanilla extract
  • 1 cup buttermilk
  • 1 1/2 cups fresh or frozen blueberries, plus 1/4 cup to press on top
CRUMBLE:
  • 2 teaspoons unsalted butter, melted
  • 1/2 cup granulated sugar
  • 2 teaspoons ground cinnamon
Yield: 15 Regular Muffins
Prep Time: 10 minutes
Cook Time: 15-20 minutes
Total Time: 30 minutes

After you make these yummy little blueberry babies, smother them in butter and enjoy them with a glass of milk. That is my favorite way to eat them. I hope you get a chance to make these muffins and that you enjoy them as much as I do. I have a new favorite blueberry muffins recipe and I will be holding onto this one for a while.
Enjoy!
Blessings to all


Check out my previous post on
How to freeze your leftover berries
http://thetexasbohemian.blogspot.com/2015/02/how-to-freeze-berries.html


Sunday, February 1, 2015

How to freeze berries

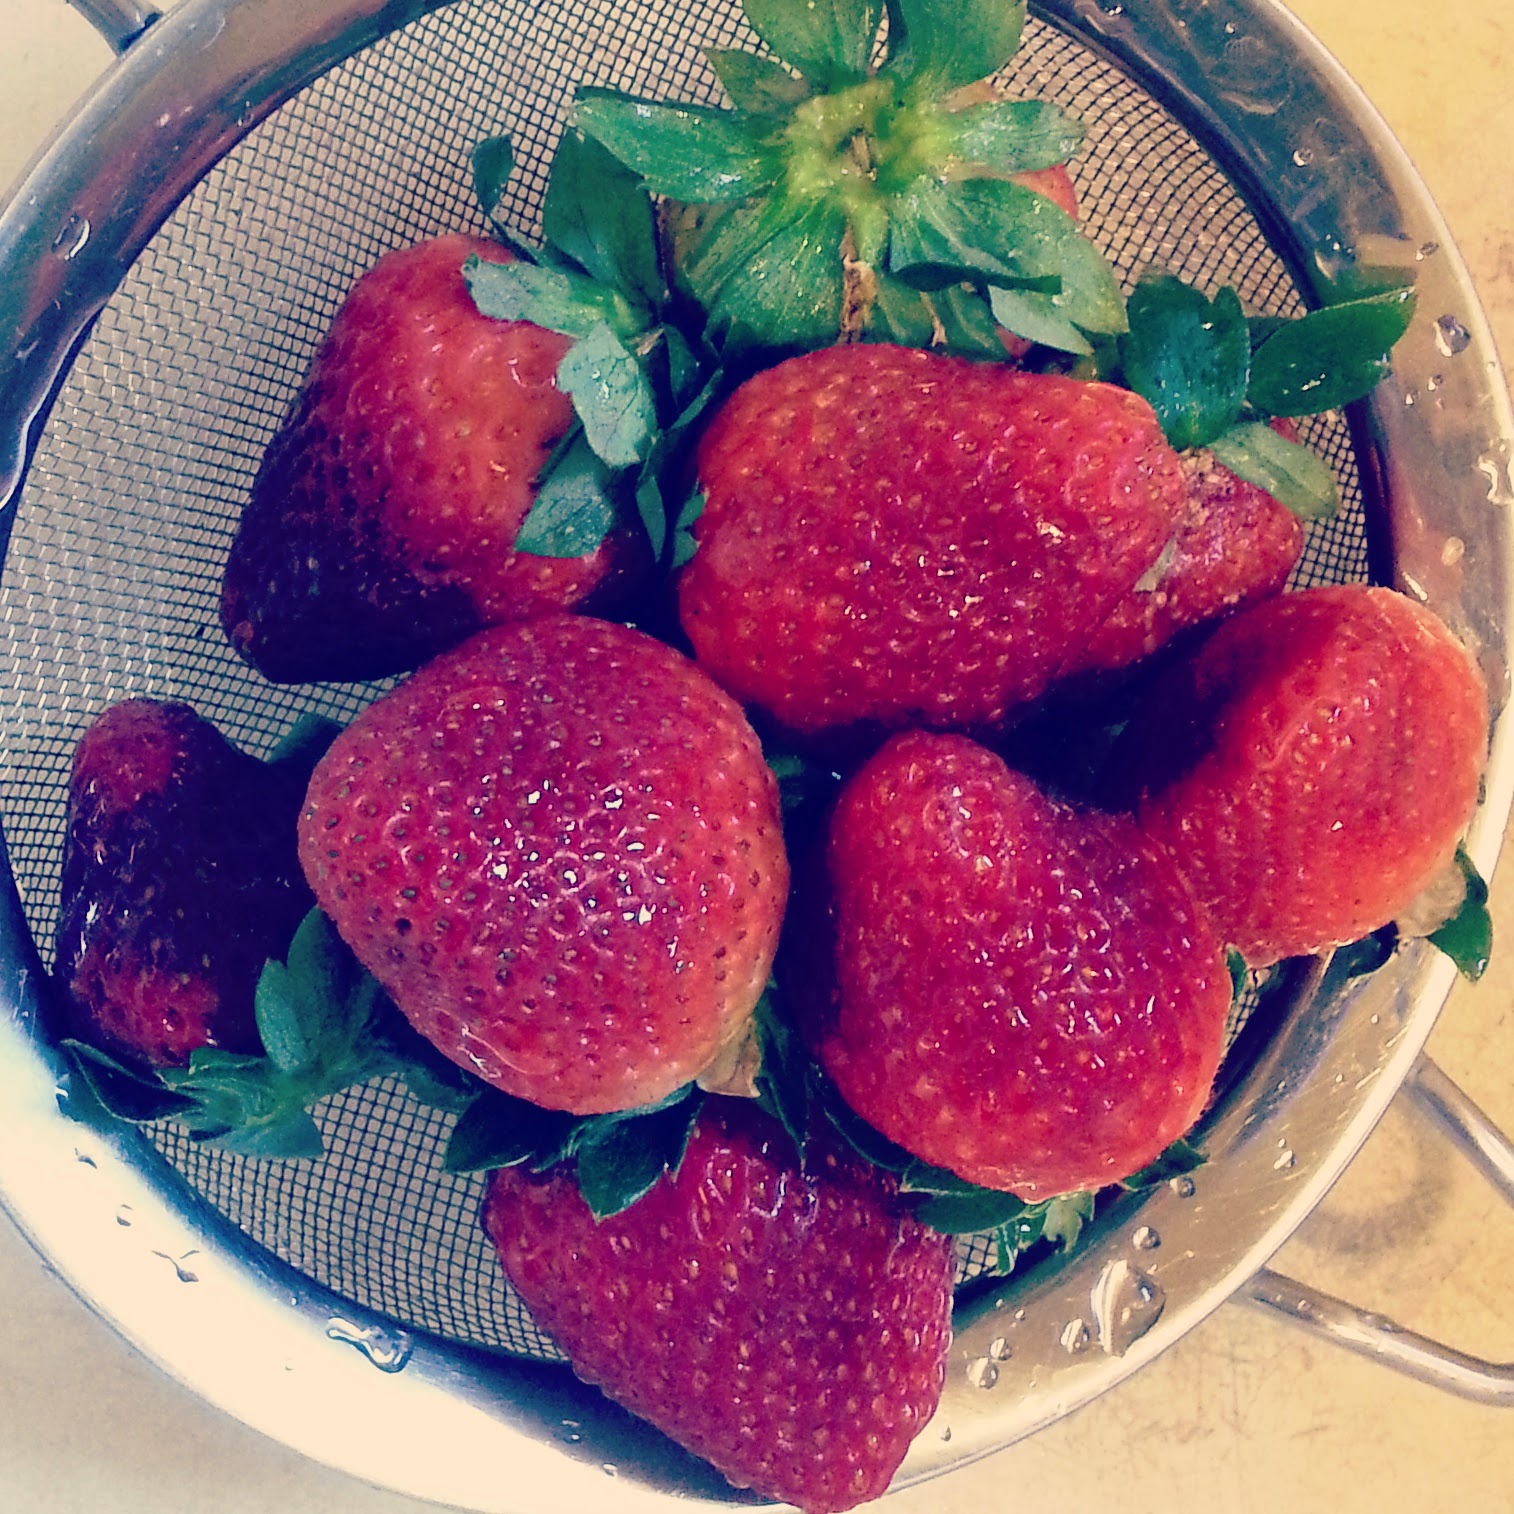
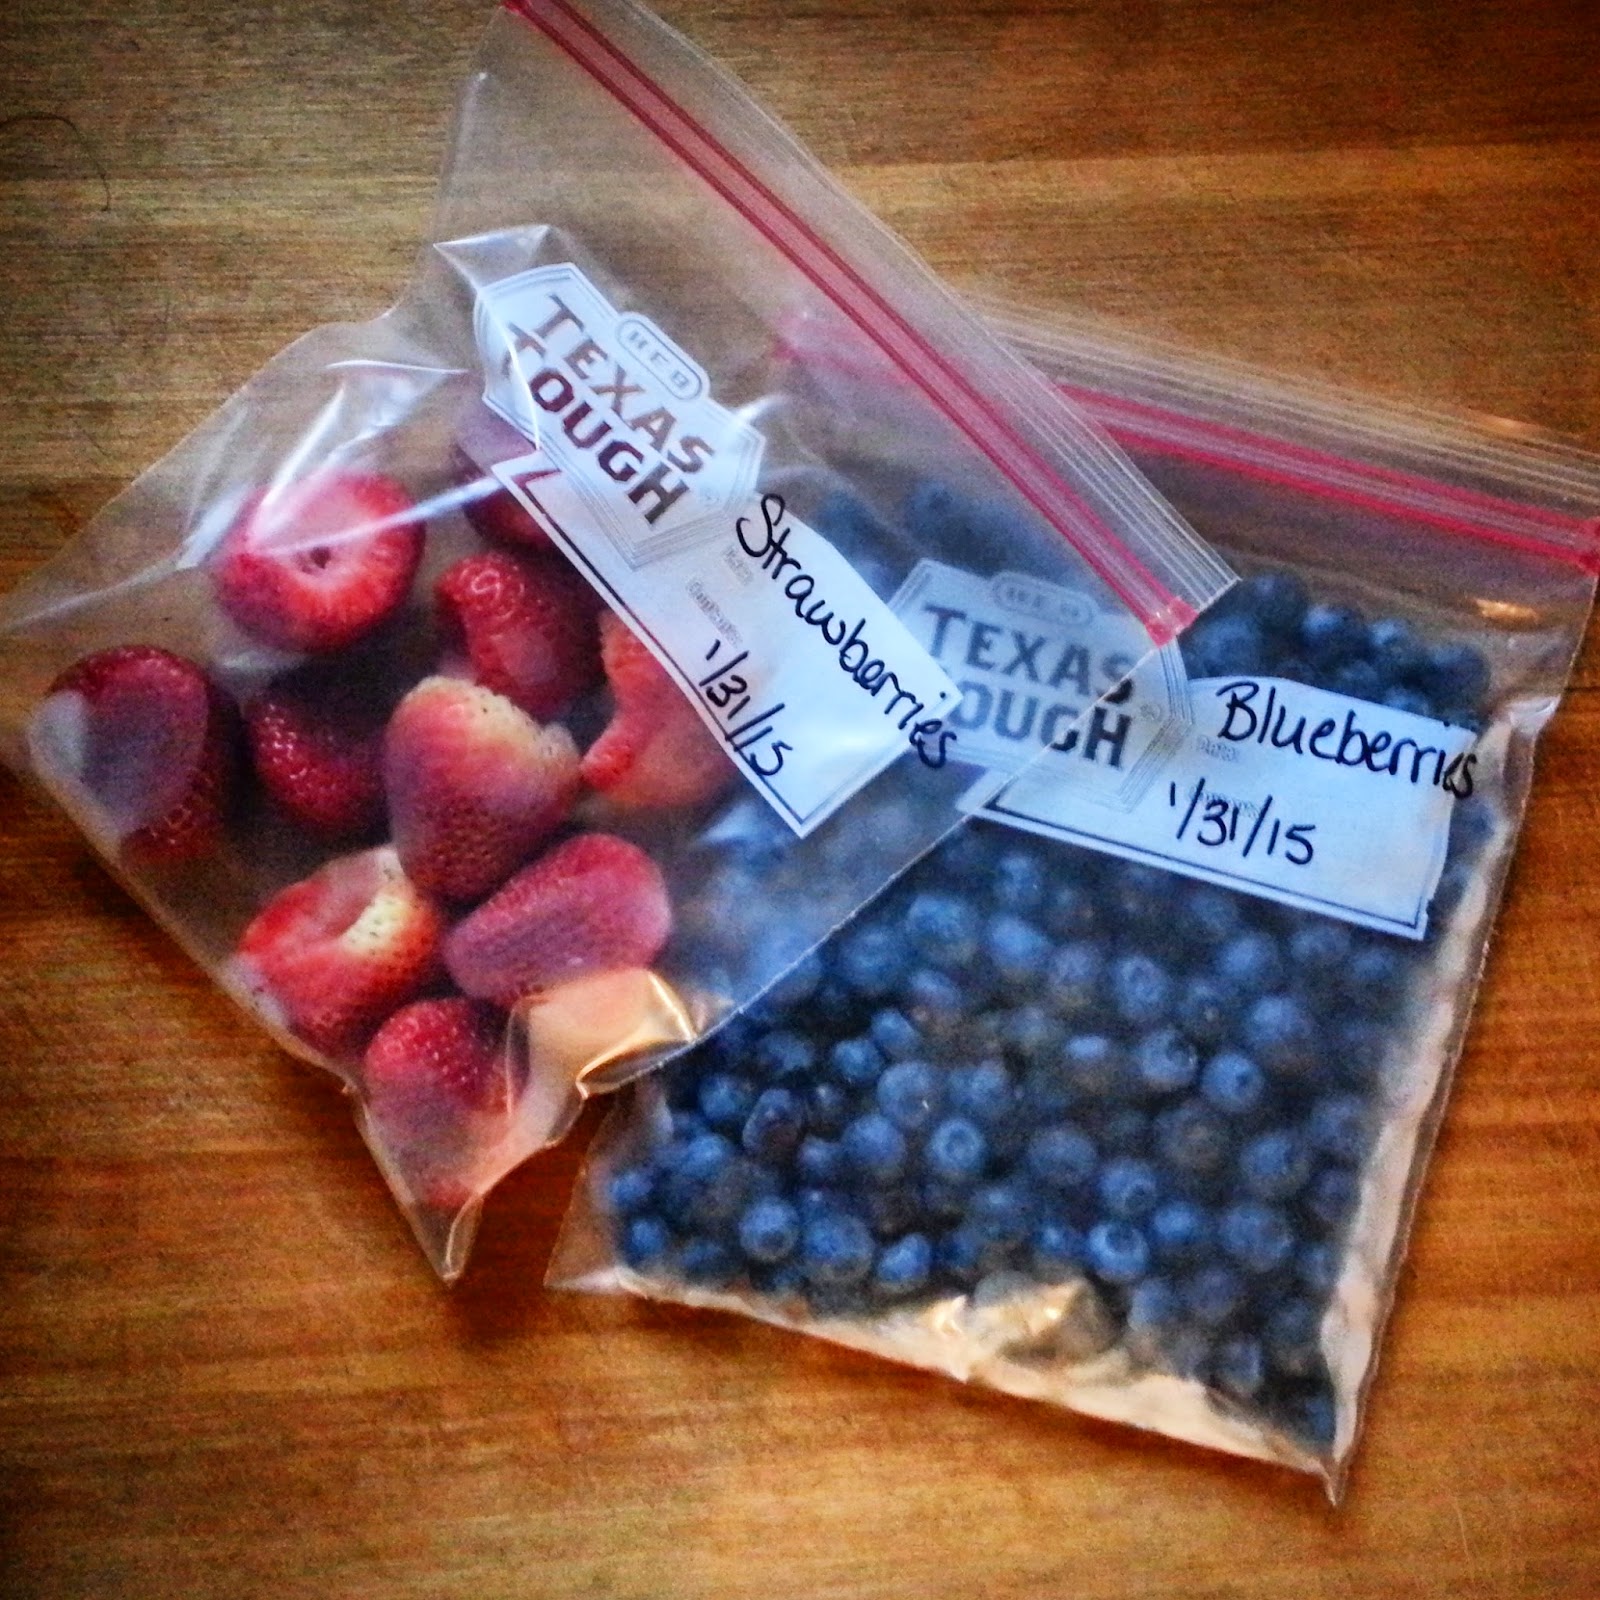
It has been such a gloomy and dreary day. But I got these fresh strawberries and a giant thing of blueberries on sale and I am washing them up good so I can freeze them. I love fresh berries and freezing them while they are in season or on sale is a great way to ensure their availability.
I can't stand to see my fruits and veggies go bad before I can eat them. For some reason I always forget about freezing them. Really, you can freeze just about anything. Think about all the varieties of food that fill the packages in the frozen food aisle at the grocery store. Green beans, corn, onions, squash, zucchini and everything else under the sun. In order to stock my freezer up and make sure that I don't waste any of my food, I am going to start taking half of my fruits and veggies and wash them and freeze them. I started with my berries that are so sweet and bright. I was surprised to stumble upon such good berries and at such a great price in January. I don't want to let these puppies go to waste.

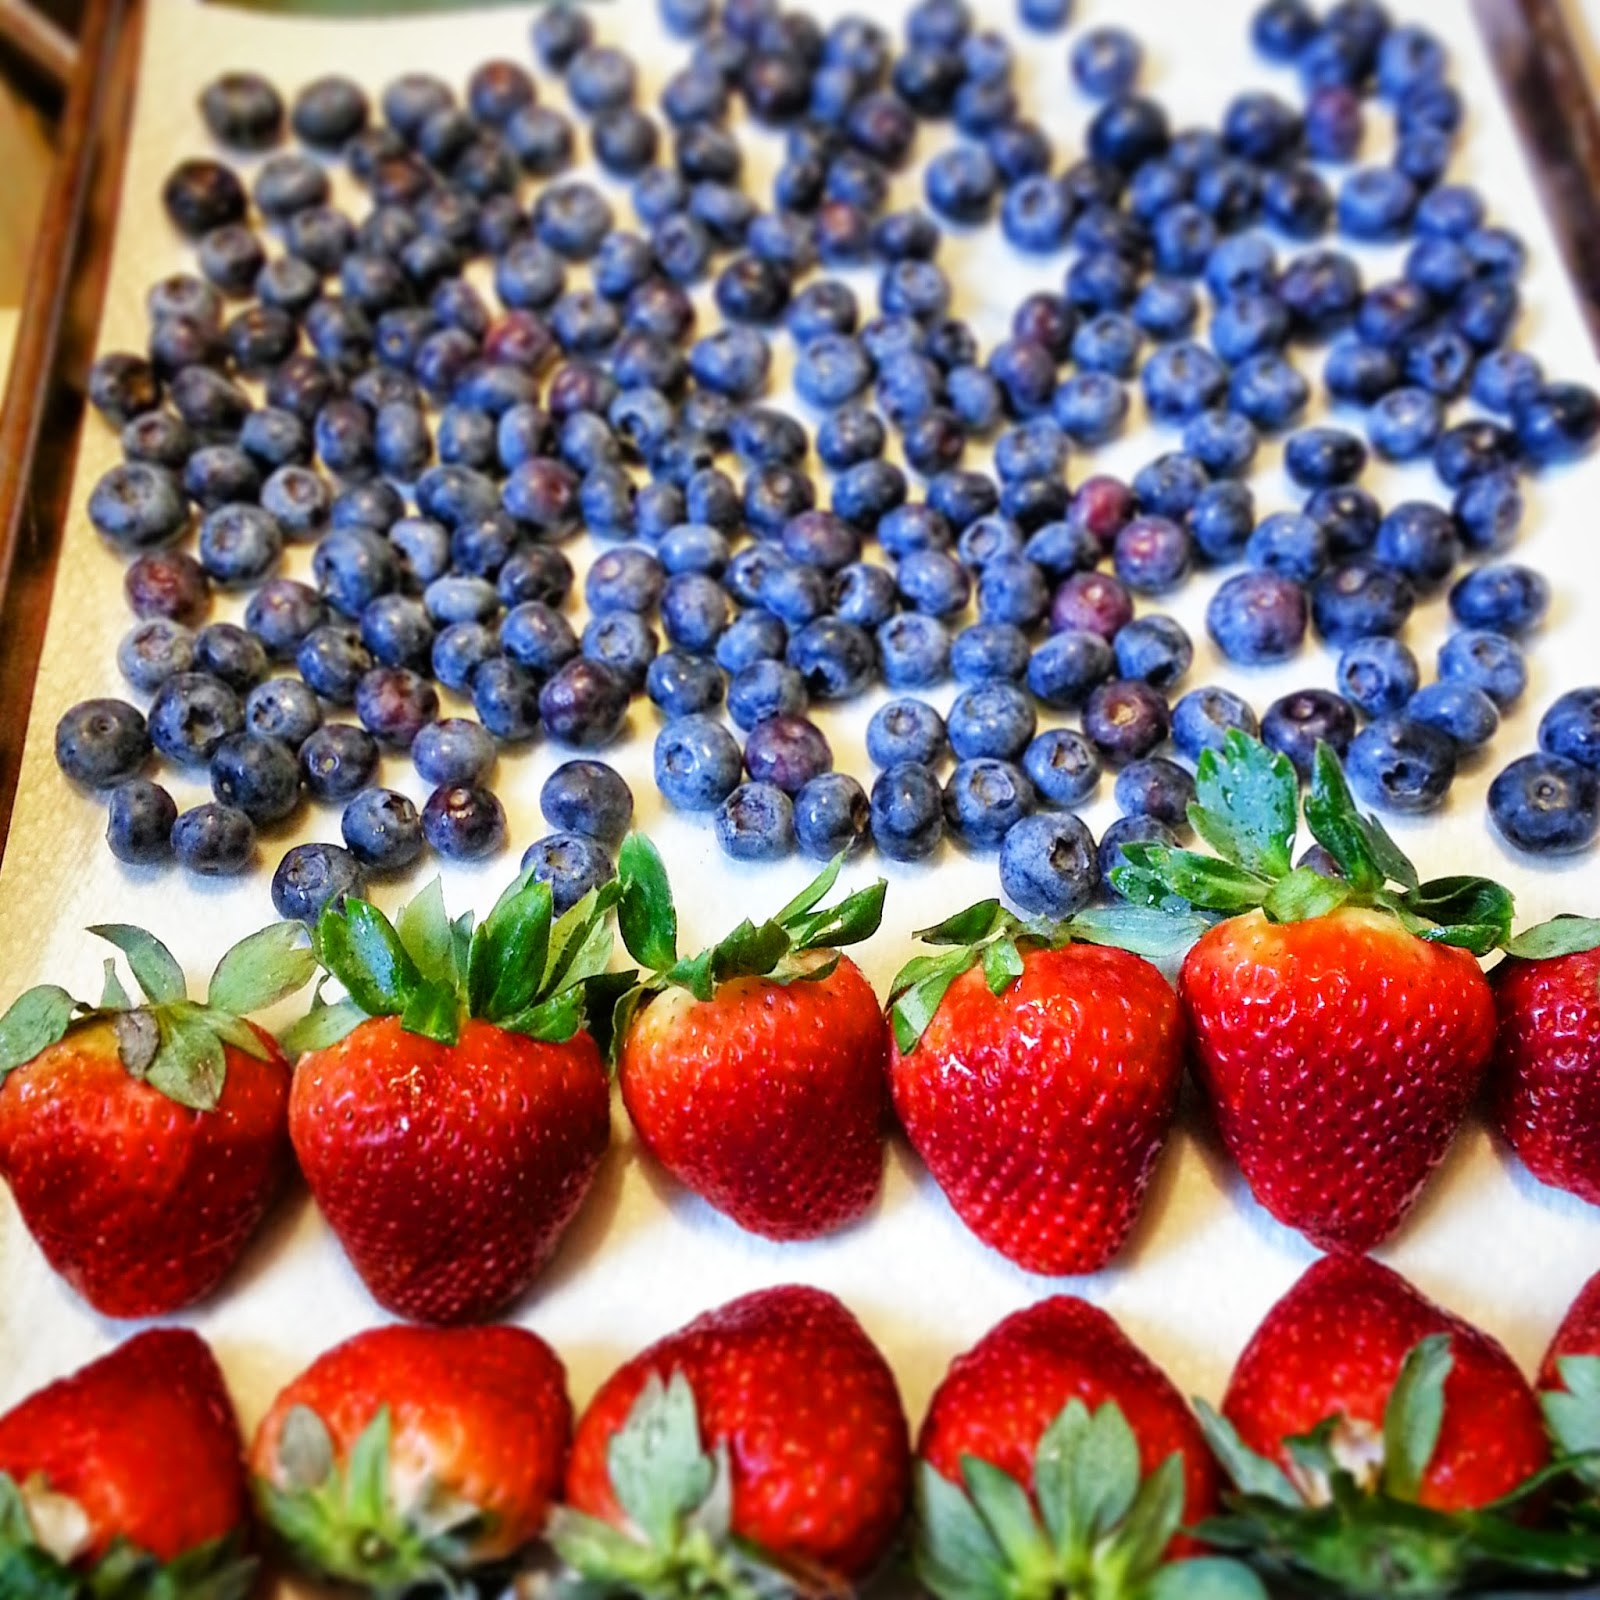
Freezing berries or really anything is actually quite simple. First, I get a baking sheet and cover it with two layers of papers towels so that I can dry/drain the berries of their excess water after rinsing.
Take all of your fruit that you want to freeze and give it a good washing. I use a strainer and let them sit in the sink for a few minutes to drip off as much excess as possible. I then spread the fruit out over the paper towels to dry off. After a few minutes I turn the fruit over and try to get the other side too. If you have any paring or trimming to do with your food, this would be the time to do it. I usually cut out the core and take off the greenery on my strawberries before freezing them.
I then throw away the paper towel and use a silicone mat on the baking sheet to prevent the berries from sticking. This isn't necessary. I just happen to have one. You can place your berries directly on the cookie sheet. I wouldn't use paper of any kind because the berries may stick to the paper as they freeze. Try to separate your fruit as much as possible. Sometimes the berries will freeze together when they still have water on them. The goal is to try to freeze your berries separately so that you can use as much or as little as you want from your bag without them all being frozen in one big clump. That is why drying them on the paper towels is an important step. After they are washed, dried and spread out on the cookie sheet, you can then put the cookie sheet of fruit in the freezer for about an hour. You mostly want the berries to get pre-frozen enough not to stick together. After an hour, take the berries out of the freezer and put them into your freezer-friendly ziplock bags that have been pre-labeled with the date they were frozen and the name of the item. Then you can store them in your freezer for up to six months.
If you like smoothies as much as I do, then this will also make smoothie-making that much easier. A great idea for smoothies is taking this same concept but preparing baggies of pre-prepared fruit combinations for your smoothies. For instance if you love strawberry banana, then you can make a bag of already sliced bananas and strawberries for a smoothie. It's a great way to save time and to make sure that you have the fruits you want when you need them. Try this with spinach and yogurt too. Like I said before, you can pretty much freeze anything.

Happy Berry Freezing!!!
Blessings to all

Saturday, December 13, 2014

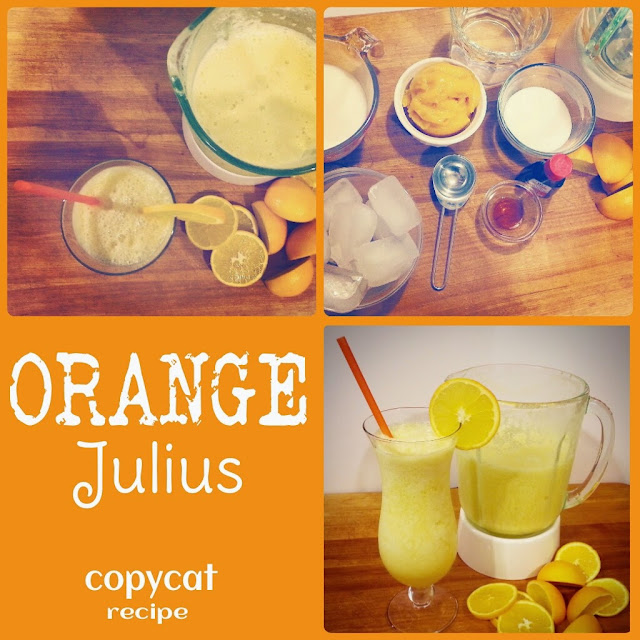
Orange Julius copycat recipe

Remember those delicious Orange Julius smoothies that Dairy Queen used to make? They stopped making them for years and then in the past couple of years they brought them back but they don't taste quite the same. I am not sure if they changed the recipe or did something different but something is definitely different.
 
I always loved the Orange Julius and have attempted to make my own on several occasions. They didn't always come out so great but never so bad that I didn't drink them. I have searched high and low for the perfect copycat recipe for making my own Orange Julius and I finally found some good ones. There are a lot of these out there. The general ingredient seem to be pretty common among all the recipes that I have found. I did find this one on Pinterest from The Recipe Critic that I liked in particular. I had to do a little tweaking to make the recipe just how I wanted it and this is what I ended up with. I hope you like it.
 
Recipe
What you will need:
Blender
Spoon
Cups
Straws
Measuring cups
Measuring Spoons
 
Ingredients:
6oz frozen orange juice concentrate (half a can)
1 cup milk (try 2% or skim for a healthier version)
1 cup cold water
1/3 cup sugar or (sugar alternative)
1/2 tsp vanilla extract
10-15 ice cubes
Makes about 4 - 8oz glasses

This is such an easy recipe and all in all not too fattening. If you use a less fattening milk (or milk alternative) and less sugar (or a sugar alternative) then this can really be a healthy. I don't mind the few extra calories and I want my Orange Julius to taste as close to the original as possible, so I use the original ingredients. 
 
To make the smoothie, combine all ingredients into your blender and mix until smooth. It should take a couple of minutes. I use the ice crush button on my blender because I don't like chunks of ice in my smoothie. Use your spoon to taste and make sure it is sweet enough or thick enough for you. Most recipes called for more sugar, about half a cup. Also, less ice. I found that I like mine with a little less sugar and a little more ice. 

If the Orange Julius Smoothie meets your standards, then pour into glasses, add a straw, maybe a little orange garnish and go to town. 
Yum!!!
Well, I hope that your Orange Julius experience is as good with this recipe as it was way back when the original Orange Julius was around. If you find that it doesn't quite fit the bill then tweak the recipe a little until you find your own balance. That is what is so fun about cooking and playing in the kitchen, you get to be creative. 
 
As always, Enjoy your journey in the kitchen!
Blessings to all